I knew that I didn’t have time to hike up Mauna Kea, so I planned only for an exploratory hike. Mauna Kea means white mountain, because in the winter it is snow-covered. This is the highest mountain in the Pacific (and in Hawaii) at 13,803 feet. Since 17,000 feet of the mountain’s base is also under water, it is often credited with being the largest mountain on Earth, rising over 30,000 feet from its base, which is twice that of Everest.
However you look at it, hiking Mauna Kea is not for the faint of heart. I just drove to the visitor center, about six miles from the Saddle Road, at 9,200 feet, parked my car and hiked about 1,000 vertical feet up the trail just to explore – so I’d know what to expect next time.
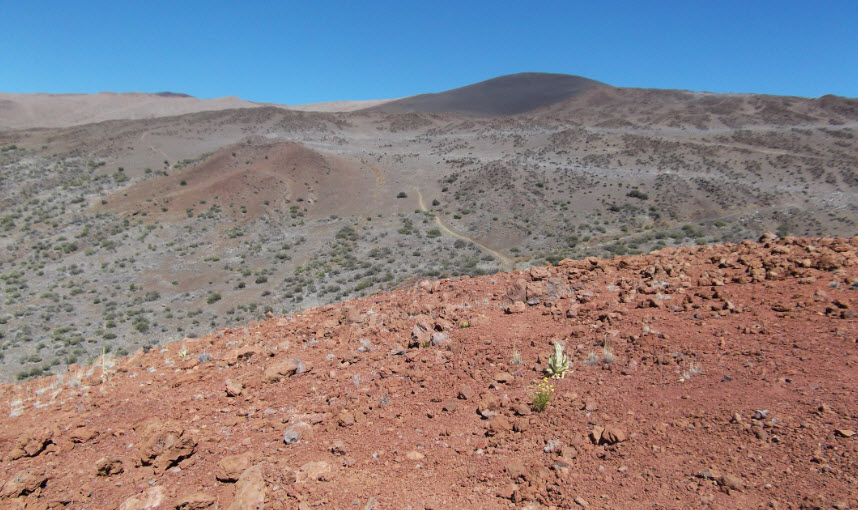
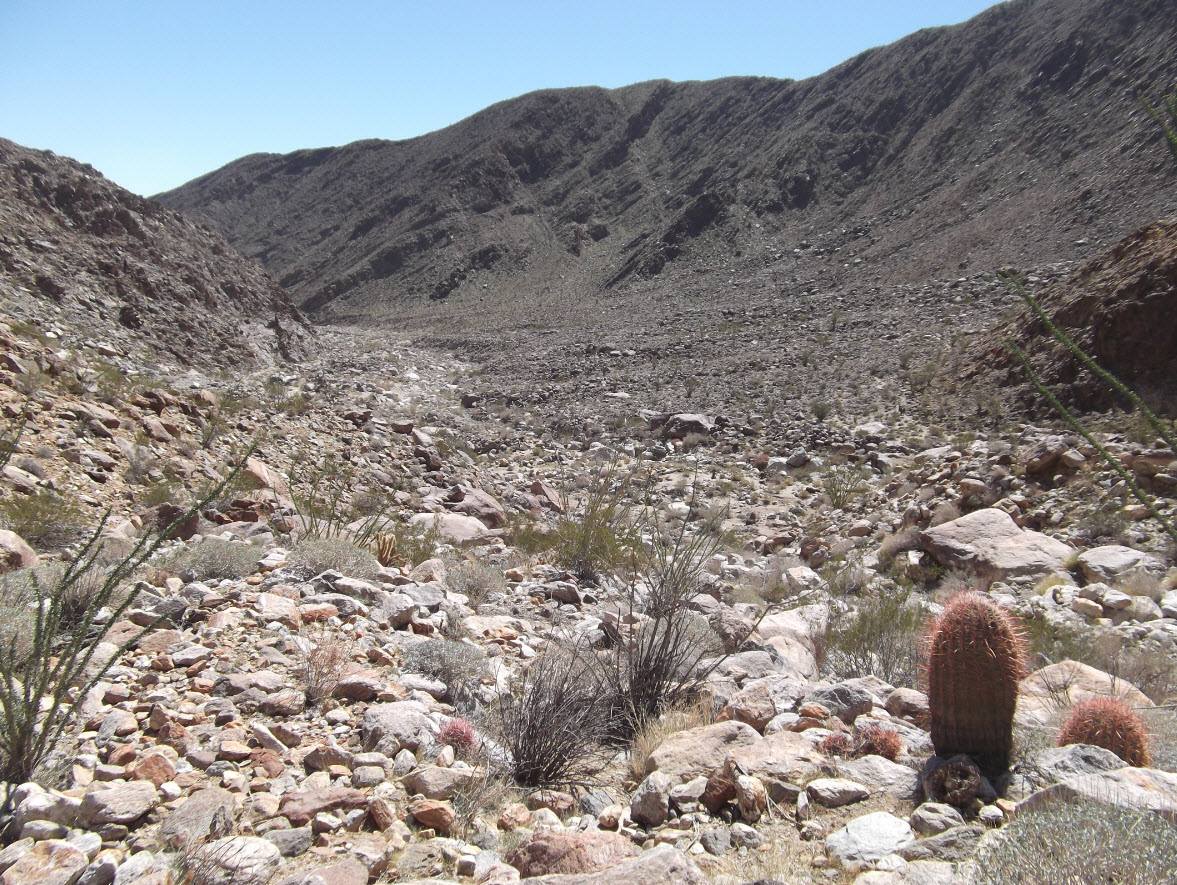
This picture shows what it looks like. Completely barren, moon-scape-like cinder cones of red lava is all there is on this mountain. In the center of the picture you can faintly see the trail, going up and curving to the left behind the cone in the left center. The top of the picture is not the peak – that is much further behind.

The road is not paved all the way up. The first six miles to the visitor center from Saddle Road is paved. Then comes a section of five miles of gravel road, followed by another four miles of pavement at the top. This picture shows the gravel road. The road is badly washboarded, and on the right side it’s quite sandy, particularly at the steep sections. I drove a regular sedan. I only got stuck once when it was steep and I went very slowly. My front wheels started spinning and the car drifted to the right. I had to back down gently to a better spot, pick up some speed and race over the steep part.

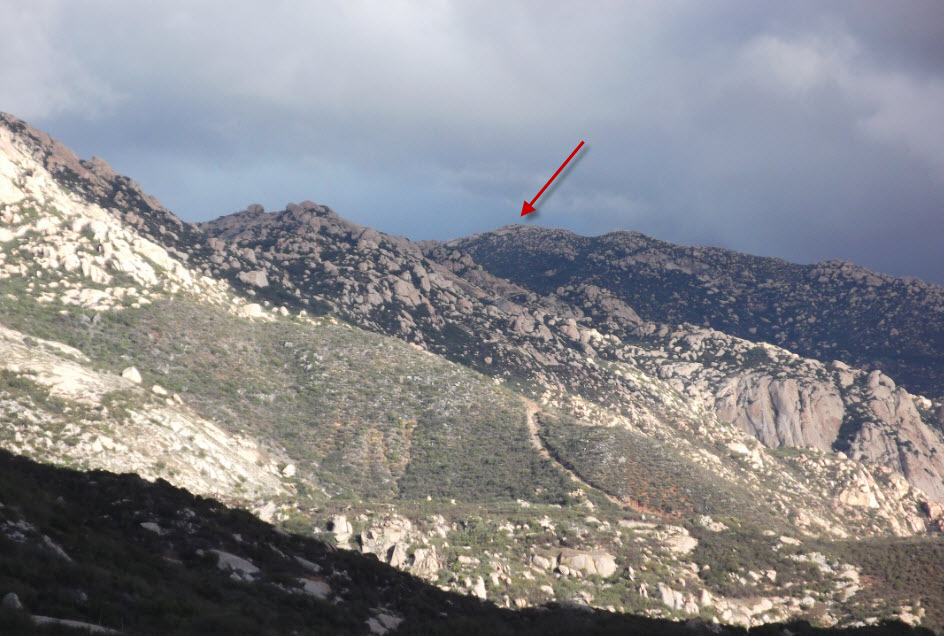
After what seemed like endless dirt road, I finally reached the welcome pavement. You can see the road snaking up the right cone. That is still not the peak, but I am getting close.

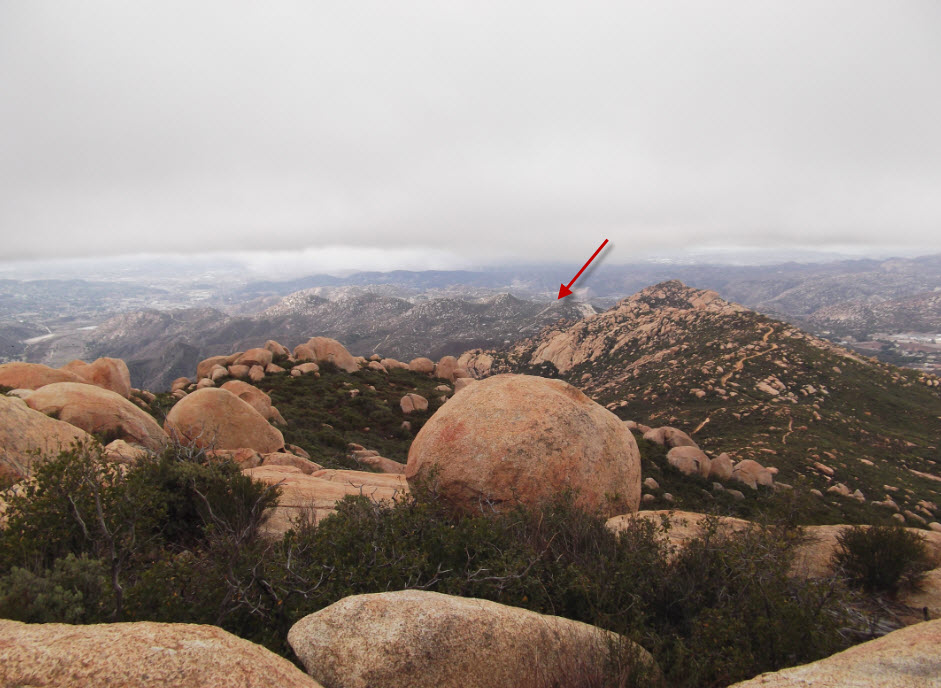
Finally at the top. The peak in front is the top of Mauna Kea. I hiked along the ridge on the left. Up on top (you can click to enlarge) is a youth group chanting in native Hawaiian. Once I got there I joined and listened to their stories.

Here I am standing on the very peak – the roof of the Pacific. Other than the other Hawaiian Islands, it’s many thousands of miles in every direction to the nearest land. At almost 14,000 feet, I am very light-headed and clumsy, and unsteady on my feet. Humans are not designed to go from sea-level to 14,000 feet in a few hours. I was lucky that is was a warm day. The high on the mountain was 52 degrees. I didn’t need the down jacket I had brought for the occasion. It can be zero degrees and blizzard conditions up there within a few hours of nice sunshine. I was lucky, and I had great, clear views in all directions.

This is the view east. Down below those clouds is the city of Hilo.

Looking south, in the distance, is the massive mountain Mauna Loa (black mountain), only a hundred feet or so lower than Mauna Kea. This is the largest volume of mountain in Hawaii. It is said that the landmass of Mauna Loa is bigger than that of all Hawaiian Islands combined. Its broad expanse is awesome, and the top of Mauna Kea is one of the few places where it is possible to even see the entirety of it.

Of course, facing west, we can see some of the many telescopes on top of Mauna Kea, one of the most famous places for astronomers in the world. In the background we can see the island of Maui which is basically dominated by the volcano Haleakala. The air is usually not clear enough to see all the way to Maui, so this was a special day. Here is a zoomed picture:

You can see the peak of Haleakala between the two domes and the island of Maui stretching all the way to the right edge of the picture.
Mauna Kea is an impressive mountain and an experience. The native Hawaiians don’t think of it as a mountain, they think of it as their ancestor. I need to come back when I have a full 8 – 10 hours to do the round-trip hike so I can feel its soul.